Friday, May 27, 2011

Top Ten

One of my designs on Spoonflower made the Top Ten in the Folk Tales contest. I have been playing around with the logo for Elephant Booty Studios for a few years now. It started out as a sharpie drawing for a silkscreen class at Arrowmont. We had to create a repeat design to make a silkscreen to print with thickened procion dye. As I kept repeating the design on my fabric, we noticed it got a bit "wonky." At the time, the instructor and I thought it was a registration problem from the padding on the table being uneven on the sides. By the time I got all the way across the 3 yards of fabric I was printing it was off by a half inch.
Once I got home and started playing with the design in Photoshop, I realized that the asymetry of the design and what looked balanced to my brain was off by just enough to keep adding up in the repeat. I have been learning a lot of hints and tricks for Photoshop from my techie brothers and from fellow Spoonflower designers on the Flickr group. I have been editing and fine tuning the repeat for a while now and also trying out different colors and patterns for coordinating fabrics.  I am in love with the "set pattern" fill in Photoshop for making more complex designs based on a set of coordinating motifs. I am pretty happy with the set of coordinated fabrics I have now and I am waiting for my swatches to arrive as a final check before putting the set up for sale.

My last set of swatches includes my Ele Boo Blue Ganesh design
that made the top ten of the Folk Tales contest at Spoonflower.

I am really happy with how bright the colors printed on the swatch of my Ele Boo Blue Ganesh.

The above is a closeup of the enlarged version of my design.  I wanted to see how
bad the pixelization would be and it really is better than I had thought.  I am thinking I can
order more of this and make new curtains for my studio. The colors on this one are a slightly faded
version.  Again, I am still doing quite a bit of experimenting as I learn the ins and outs of Spoonflower.

I also experimented with making some of the designs more intense in color.  In this design,
I made use of the fill pattern tool in Photoshop.  I designed a set of motifs to coordinate and then
designed a set of shapes to experiments with layering.


I think this is looking really washed out because of my camera, but you can still see some of the pattern layering I am working on.

I also have been working with my Ele Boo design motifs in magenta, white and black.

Wednesday, May 11, 2011

Indigo update

My seedlings are making good progress. The first set of seedlings is almost ready to transplant. I hope we get a weekend with clear weather so I can get the planting bed ready for them.


My first set of seedlings need to be thinned out to get them ready for transplanting.


Senbon--not as many came up as the other variety.


Kojyoko--good success with germination for these.

Monday, May 09, 2011

Indigo Seedlings

My senbon variety of indigo---with the pink blooms and stems with a reddish cast--has germinated.

The kojyoko variety with the white blooms and green stems has also come up!

Wednesday, May 04, 2011

Indigo Cakes


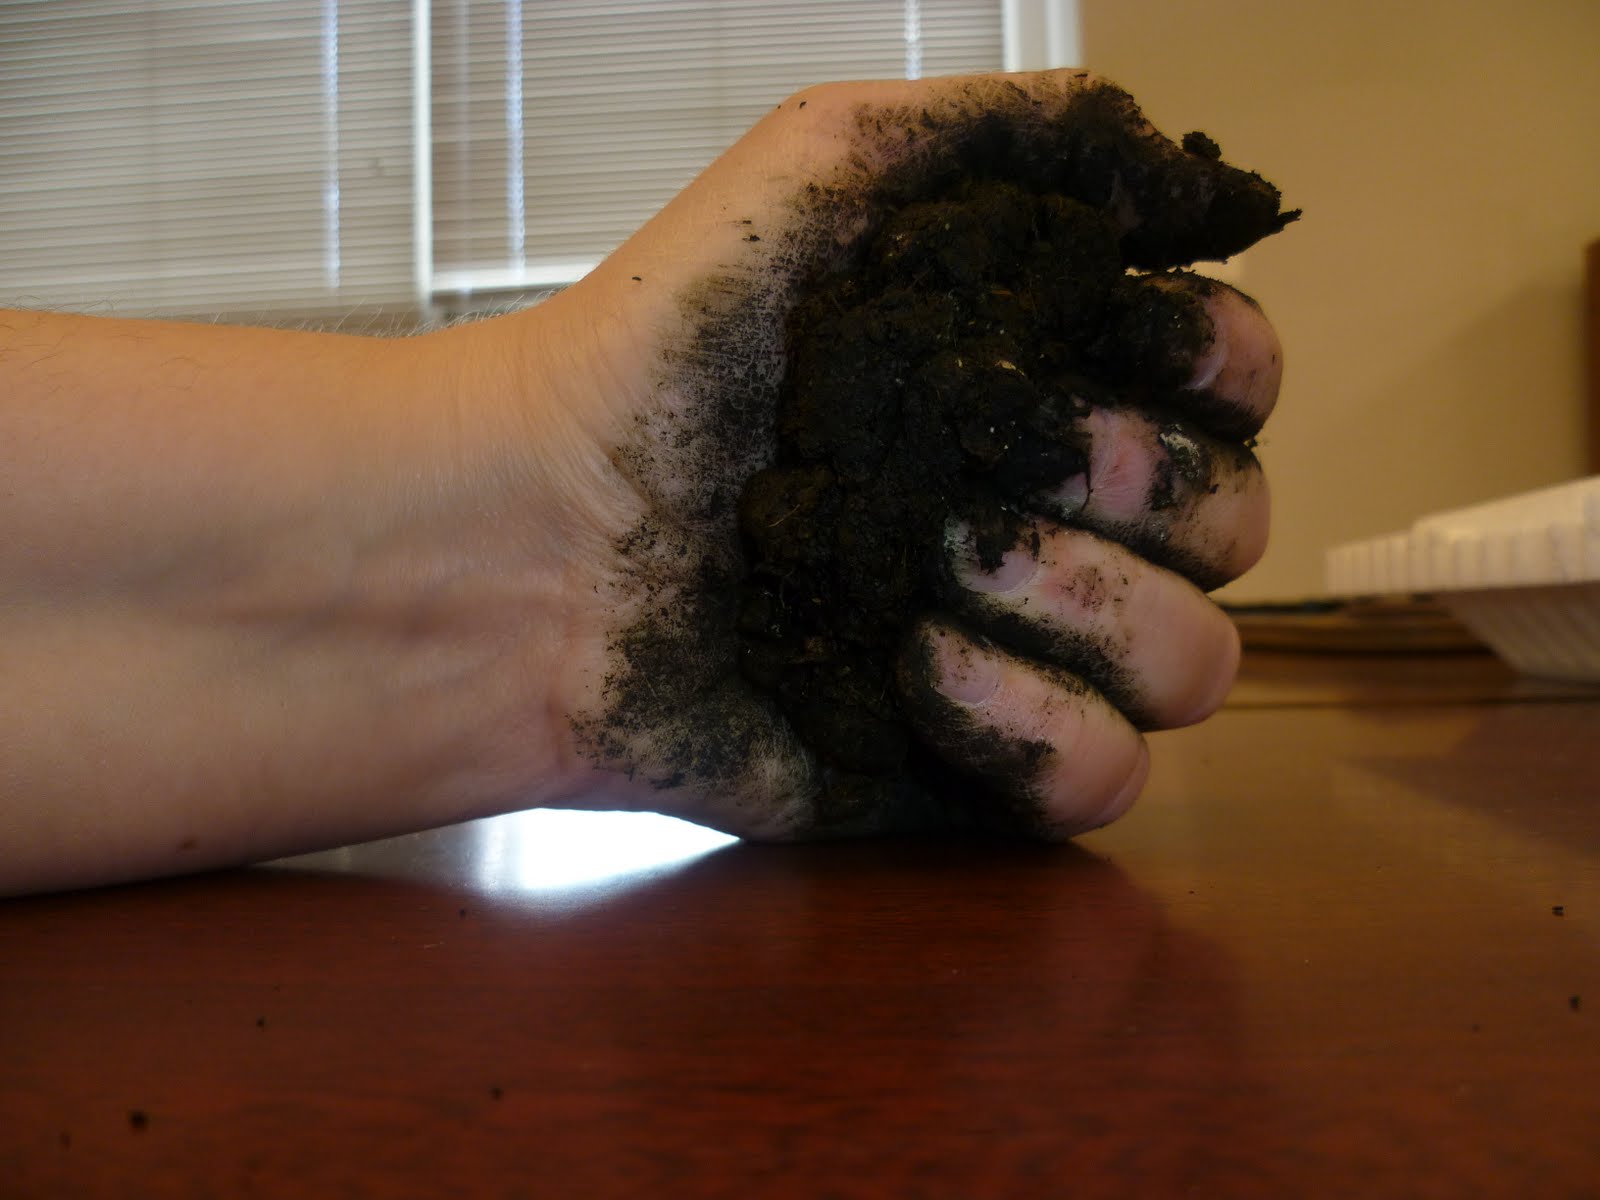
My indigo compost was down to about two inches in depth and had turned a blackish greenish blue. It now had the feel and consistency of a good clay soil.


I scooped out a handful and kneaded it in my hands and then rolled it into balls. The balls were flattened and formed into squared off cakes. I thrilled as I watched the outside of the cakes start to turn blue as they dried on the tray in the sun.


I know it does not look like much and I am not sure I have created a usable dye yet. Again I am having to be patient and wait and see. I was lucky enough to finally get a copy of Dorothy Miller's book "Indigo--From Seed to Dye." Reading about her learning process has been very helpful. I am trying to decide which of the recipes for a vat to follow as she offers several in her book.


Monday, April 25, 2011

Indigo compost update

I opened up the indigo compost to give it a good stir and it has gotten very dark in color and was compacting down nicely now. I am a bit worried about it being too wet now that we are having so much rain. The humidity is way up so I may just open it up and stir it more often to add more oxygen and keep it from being too damp. It really is a balancing act.


I also opened up the jars of fermenting indigo to check on them. No mold but I think the smell and how slimy the liquid was is probably not a good thing. I decided to pour off the water which was brown and added fresh and stirred it up quite a bit. I am planning to let the green bits settle again and pour off the water and repeat the process. I am thinking about what I might need to add to change the chemistry in addition to adding oxygen. I am thinking ash, lime or something acidic like a fruit juice?

Friday, April 22, 2011

Looking close at indigo seeds

Indigo does not come from just one plant. Japanese indigo also has several varieties as I am finding out.


The packages of indigo from Rowland Ricketts are nicely labeled indicating the name of the variety and what color blooms they will have. It also states the tint the stems will have. The kojyoko variety will have white bloom and green stems while the senbon variety will have pink blooms and stems with a reddish cast. I plan to separate these in my garden so I can track the differences in them this year. I want to look at yield of dried leaf and color produced from the dried leaf.

The seeds are slightly different in appearance as well as being different from the seeds I got last year from http://www.companionplants.com/  The seeds from Companion plants are flatter and smaller and dark brown in color.  I started those last week and they are now sprouting.
Indigo sprouts
leaning toward the light
You can see the shells of the seeds
clinging to the cotyledons.
The white fuzz is the thin
hair-like roots forming.


Above are the seeds from the new packages. On the left in each picture is a seed still in the husk. On the right is the actual seed. The kojyoko seed is darker and smoother than the senbon. Both the kojyoko and senbon seem to have three sides instead of the two sided flat seeds from Companion Plants which is labeled as indigofera tinctoria which is part of the pea family.  The Japanese variety--polygonum tinctorium is part of the buckwheat family. I will be starting the flats of these seeds this next week.

Actinomycetes

Actinomycetes!  Scary sounding name, but turns out it is a beneficial type of bacteria in the composting process. I was a bit concerned when I opened up my indigo compost to turn it and add oxygen to the pile. I thought the whitish gray fuzzy stuff in there was mold. Read more about Actinomycetes at http://soils.usda.gov/sqi/concepts/soil_biology/bacteria.html

The compost had an earthy soil-like smell and not a moldy one, very much like going outside on a warm day after it has rained. I was happy to find that it was warm and the bulk seemed to be shrinking. It needed more water than I had originally thought.
The little whitish gray thread-like
fungi is the actinomycetes.

Thursday, April 21, 2011

Indigo seeds have arrived

I now have my indigo seed from Rowland and I am really excited about getting it started. I was sharing my plans with my students and they think I have gone a bit nutty. They don't understand why I want to do my own experiments with the process instead of just looking up what someone else has done on the internet. I have look at other sites, other books, taken classes and listened to the wisdom of the instructors, but nothing replaces experiencing something for yourself.  It is the difference between reading about chocolate and actually eating it, between falling in love for the first time and having sometime tell you about it. It is just not the same as experiencing it and learning as you go along. My students are so impatient with the doing of things, the actual making of things. They do not value or honor the process and it shows up in their work. I hope as they mature, they will remember what I have tried to teach them about this.

Rowland was kind enough to send one of the promo cards
from one of his shows with a little advice!

Wednesday, April 20, 2011

Indigo on the way

I started some of my indigo seeds left over from last year this past week. I was not sure if they would germinate after spending a year in my basement, but all seem to be sprouting. I also have seeds on the way from Rowland Ricketts. The money from the seeds will support his work at Hilltop Garden for the IndiGrowingBlue project. Rowland hopes to be able to buy silk scarves for children in the summer program to dye with the fresh leaf indigo.  How can you not want to help with that?  If you are on Facebook, look up the project there to see about the availability of seed packages. I got a package of each and I am going to attempt to keep them separate to compare them in a more scientific way. I want to see if there is a difference in harvest times, pounds of dried leaf produced, composting time, fresh leaf dye color and composted dye color. I need to talk one of my book making friends into making me a special notebook for tracking everything.

The composted indigo seems to have gotten too dry. I think there is too big of a gap inside the styrofoam cooler and that air is drying everything out. I know it needs to breathe to compost right but the material I used to cover it may not be holding enough moisture in. I added more water and stirred, stirred, stirred. I then cut a piece of an old tarp to to size to just cover the pile in the cooler. If the Indiana weather is better next week, I am going to take my fermenting indigo outside to process it. The smell is still rather bad but I see layers of blue inside the jars so I am hopeful that I have usable dye.

Wednesday, March 30, 2011

Patience

I have learned that with indigo, you must have patience. Or perhaps it is about flowing with the seasons?  I really don't think our western culture encourages that. We want it now--right now! I have had two large jars of leaves fermenting since September. The indigo looks to be settling in them now.  I am going to go ahead and process one of the jars next week to see if it is indeed ready. If not, I have my backup jar.  Pics and info on that next week.


In the meantime, I have started composting my dried leaves. I had two varieties of indigo growing. Polygonum tinctorum from Companion Plants and seedlings from Rowland Ricketts IndiGrowingBlue project. Had I been planning better, I would have composted these separately to test out the colors. The dried indigo leaves were different in color and texture. The plants I grew from seed produced a dried leaf that was both more grey in color and crumbled finer. The plants from Rowland (which were started with his seed from Japan) stayed bluer and crumbled in bigger pieces and was more leathery instead of dusty.  The smell of the crumbled dried indigo is very earthy.


To compost the indigo I am using a styrofoam cooler. My small amount of indigo (three gallon size bags) just fits inside the cooler. Hopefully as the indigo starts to break down, the styrofoam will help it maintain the heat needed for composting. I have placed it in a sunny window in my school room with the lid weighted down.
I sprinkled in layers of the dried indigo and misted it with hot water from a spray bottle in between layers.  After a few layers I stirred it up with my hands and then repeated the process until I had used all of the dried indigo. The compost was covered with a few layers of muslin to help hold in the moisture. Every few days it is checked for moisture and turned. Water is added as needed.  I am hoping as our weather gets warmer and there is more sun, the process will speed up.


The first layer of dried indigo!

Adding water and mixing after yet another layer was added.

The top layers consisted of the indigo I started from seed. It is grayer in color and the texture is finer. 

More mixing!  The smell was fabulous--so earthy and kind of pungent.
A few layers of muslin help hold the moisture in.