Lately I have had crochet fever. I will post some photos of my latest projects soon. I found it a bit frustrating going to the yarn store shopping for projects but not remembering what I needed for all the things I am wanting to make. I decided to create a "Crochet Project Planner" to fill out and take with me for the different projects to help organize my shopping. Click the link to download!
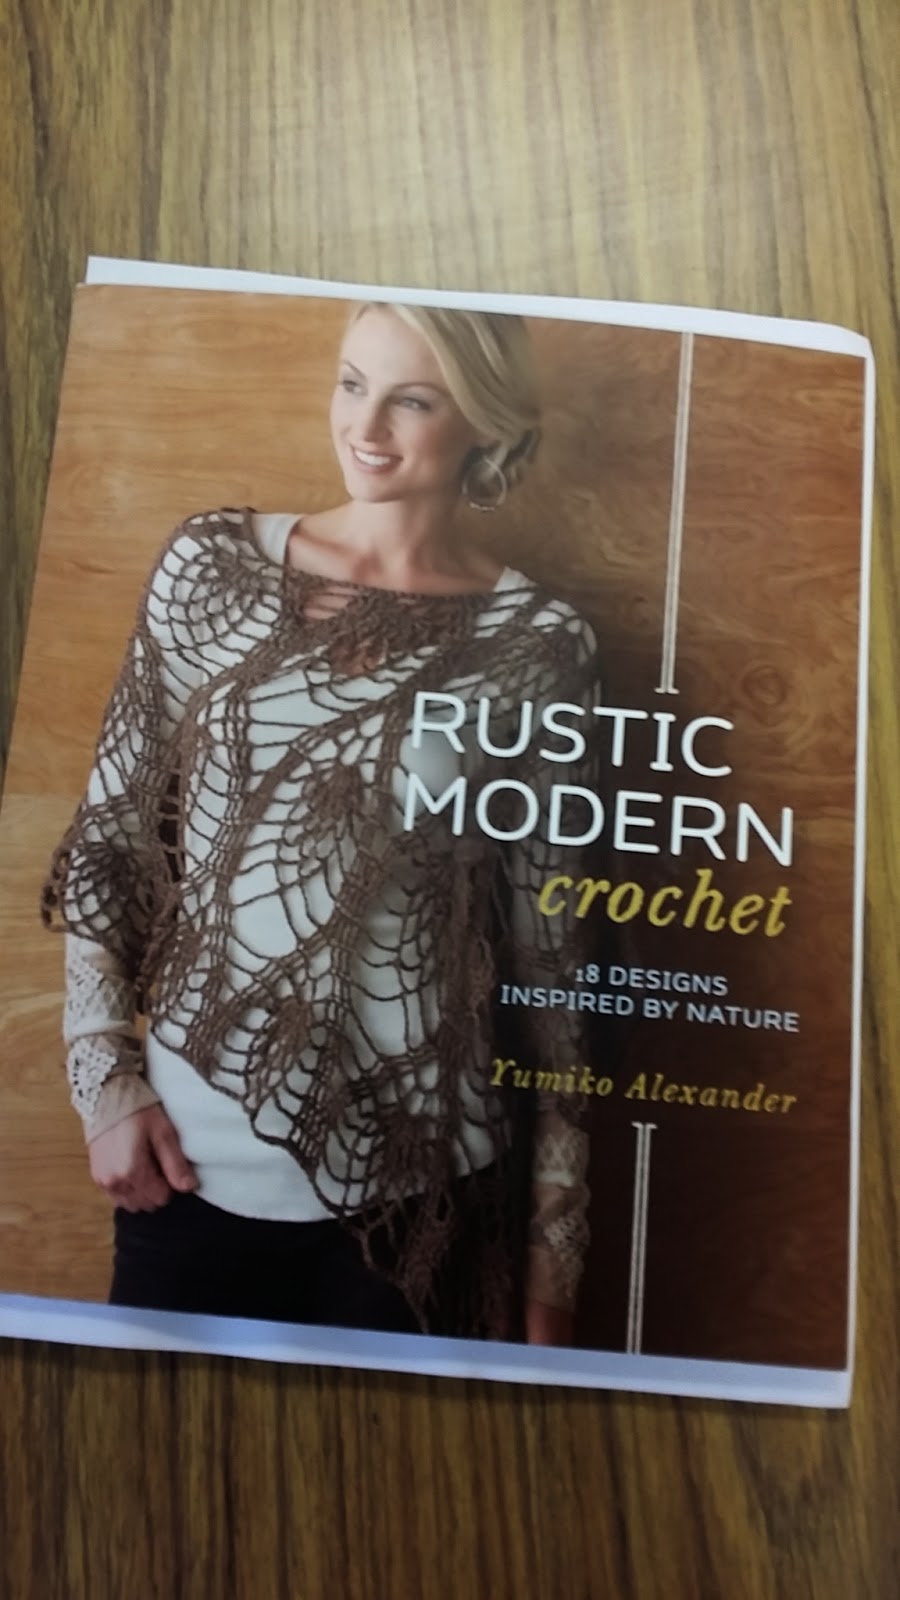
Below is an example using "Sea Flower" from Yoshiko Alexanders "Rustic Modern Crochet."
You can see my rough sketch, notes on pattern corrections, a sample of the yarn I am using, and how I circled the yarn weight and filled in the hook information.
The capelet pictured on the cover is on my to crochet list.